Note that the following document was written while we were still in the 2019 alpha test of WPILib. When the 2019 software is officially released, it will include a one-step installer that sets up almost everything into a single frc2019 directory, including a customized version of Visual Studio Code. So, some of the following may be unnecessary, but there is still some good information about VS Code. Also, you could use the following to roll your own environment, or experiment with developmental versions of WPILib.
When the new software is officially released, it is recommended that you use the one-step installer.
Starting in 2019, the officially supported development environment for FRC software development will be Visual Studio Code. That’s not to say that you cannot use Eclipse, IntelliJ, or vim if you want. In fact, if your team is happy with another environment, then you can safely stick with it. However, the excellent support from the WPILib team will be behind Visual Studio Code.
The first thing to know is that Visual Studio Code is not the same as Visual Studio. Visual Studio is a heavyweight Integrated Development Environment, primary for working with Microsoft applications. Visual Studio Code (let’s call it VSCode) is a much lighter text editor with an extension mechanism. The WPILib team will be providing a new extension for FRC development.
FRC robot programs will be built using GradleRIO, which can also be executed from Eclipse, IntelliJ or from the command line.
Step 0: Install prerequisites
You must install Java. Even if you will be developing in C++, you’ll need Java installed to run GradleRIO. You must define your JAVA_HOME environment variable, since VSCode uses it to find your Java install. After installing, you should be able to execute “java -version” at a command prompt and get back the current version of the java runtime. Execute “javac -version” to get back the version of the java compiler.
You must install git, instructions for which are at: https://git-scm.com/ Even if you aren’t using git, VSCode expects it. After installing, try executing “git –version” at a command prompt. If it prints back the git version number, you’ve installed it correctly.
If you will be doing C++ development, you must install the compiler toolchains at: http://first.wpi.edu/FRC/roborio/toolchains/
Step 1 : Download and install VSCode
VSCode is available for Windows, Macintosh, and Linux. Download the installer from https://code.visualstudio.com/download . If possible, run the installer as Administrator.
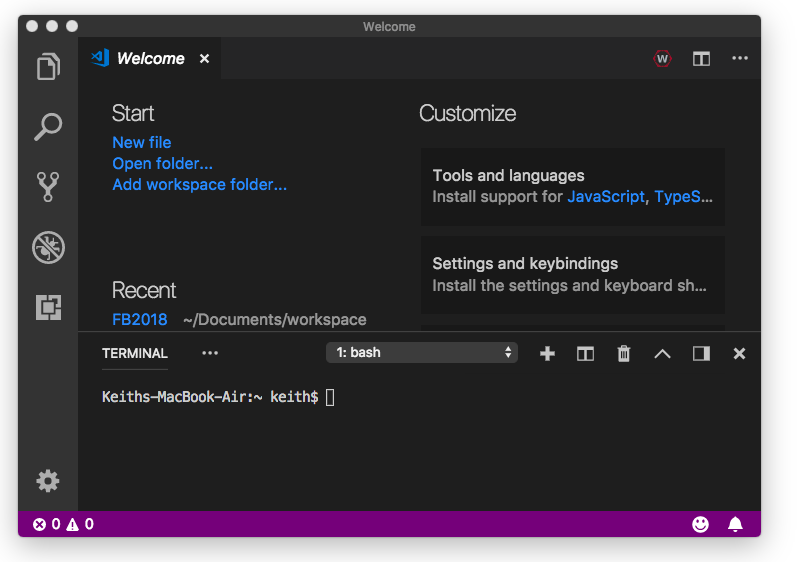
Once installed, VSCode will start up at the Welcome screen
VSCode is pretty feature rich, and you should definitely start reading the documentation and memorizing the keyboard shortcuts. Here are a few concepts to get started:
- The icons on the left edge make up the “Activity Bar”. Clicking on the icons will open up the “Sidebar” which offers more functions.
The icon on top opens the “Explorer” sidebar which shows all the files that you can edit.
The squarish icon on bottom opens the “Extension” sidebar, which lets you manage software extensions for VSCode.
Hitting control-B (or command-B on a Mac) will toggle away the sidebar, so you can make full use of screen space. - Holding the control key down and hitting the back-quote character will open a terminal panel on the lower part of the screen. (The back-quote character is usually in the upper left corner of your keyboard, just under the Esc key). You’ll probably need to get comfortable with terminals and command lines when developing with VSCode.
Hitting control-back-quote again will toggle the terminal away. - The F1 key will open the “Command Palette” at the top of the screen. Also, you can hit control-shift-P on Windows or Linux. Macintosh users can hit Command-Shift-P. The Command Palette lets you invoke special commands inside VSCode. It’s pretty good about offering you suggestions for what you want to do. Many of these functions are available from menus or from keyboard shortcuts, but you’ll find yourself using the Command Palette a lot.
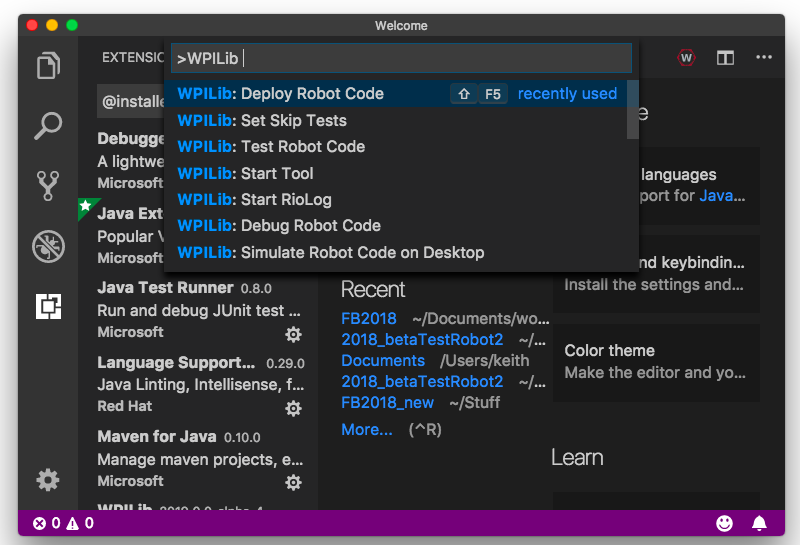
The FRC extension for WPILib adds new commands to the Command Palette for building robot code and reconfiguring your robot development environment.
Step 2 : Install language extensions
Click the square “Extension” icon on the Activity Bar.
If you will be doing Java development, type “Java Extension Pack” into the sidebar window. Select the entry for “Java Extension Pack” and click the green Install button. After the install is done, click the blue Reload button to restart VSCode.

If you will be doing C++ development, search for the “C/C++” extension. Install and Reload.
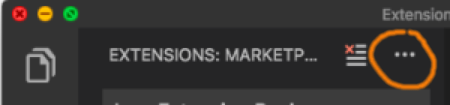
Note the three dots on the upper right corner of the sidebar. VS Code calls this the “More Actions” button, and clicking on it will open a menu. Select “Show Installed Extensions” from the menu. If everything was successful, you should see your extensions listed in the sidebar.
Step 3 : Install the WPILib extension
At the time of this writing, you can get the alpha release of the WPILib extension from https://github.com/wpilibsuite/vscode-wpilib/releases . Download the VSIX file.
Click the “Extension” icon on the Activity Bar to open up the Extension sidebar. Click on the More Actions button on the upper right corner of the sidebar and select “Install from VSIX…” Specify your new VSIX file. Install and then hit the blue Reload button.
If you show installed extensions, you should now see the WPILib extension added. The Command Palette will now offer WPILib commands. There will also be a little “W” button in a red hexagon on the title bar of all windows. It pops open the Command Palette and lists all WPILib commands.